1. Why Would You Replace a Rolex Oysterflex Band?
There are a few key reasons Rolex owners might want to replace their Oysterflex strap. Over time, even Rolex elastomer can show signs of wear — especially if exposed to sweat, sun, saltwater, or extreme use. Some owners also want to switch colors or sizes, particularly if the original strap doesn’t fit perfectly. In other cases, collectors may choose to preserve the original strap by using a high-quality aftermarket one for daily wear. Damage, discoloration, or stretching of the rubber can also be a sign that it’s time to change the strap. Lastly, those who bought pre-owned Rolex models with worn or mismatched straps often seek replacements for aesthetic or comfort reasons. Whether you’re maintaining your watch or customizing it, replacing the Oysterflex strap is a logical and sometimes necessary step.
2. What Tools Do You Need to Replace an Oysterflex Strap?
To safely replace a Rolex Oysterflex strap, you need a few essential tools. Most importantly, a high-quality spring bar tool with fine tips designed for precision watches. You’ll also want a soft microfiber cloth or watchmaker’s pad to protect your case and crystal during the process. A spring bar plier tool can help if your watch has tight lugs or curved ends. If you’re working with an aftermarket strap, ensure you have the correct spring bar size and thickness, as mismatched sizes can cause poor fitment or fallouts. Optional but helpful: masking tape to protect the lugs, and a loupe or magnifier for better visibility. Lastly, good lighting and a clean workspace make a big difference. Skipping tools or rushing this step can damage your case or spring bars, so always take your time.
3. Step-by-Step: How to Remove the Original Strap
Begin by placing the watch face-down on a clean microfiber cloth. Locate the spring bars where the Oysterflex connects to the lugs. Using your spring bar tool, gently press inwards on one end of the spring bar — you’ll feel it compress. Once compressed, angle the strap slightly to free it from the lug hole. Carefully repeat this for the other side. Be cautious not to scratch the case or damage the lug holes — Rolex tolerances are tight. If you feel resistance, don’t force it — readjust and try from a different angle. After both spring bars are removed, inspect them for wear. If the spring bars are damaged or stretched, replace them with the correct size. Set the original strap aside in a safe place if you plan to reuse or resell it. With the lugs now free, you’re ready to install the new band.
4. How to Install an Aftermarket or OEM Replacement Strap
First, check that your new strap’s ends are compatible with your Rolex case — curved ends and correct width (usually 20mm or 21mm depending on the model) are essential. Insert the spring bars into the strap holes, then align one side of the spring bar with the lug hole. Use your tool to compress the opposite end, carefully guiding it into place between the lugs. Once in position, release it slowly so the spring bar snaps into the lug hole. Tug gently to confirm it’s secure. Repeat the process for the other side. If the strap doesn’t sit flush or feels loose, remove it and try again — improper seating can risk the strap detaching. When done correctly, the strap should feel snug and aligned with the case. Finally, try the watch on and make sure the fit is balanced and comfortable.
5. OEM vs. Aftermarket: What to Know Before Installing
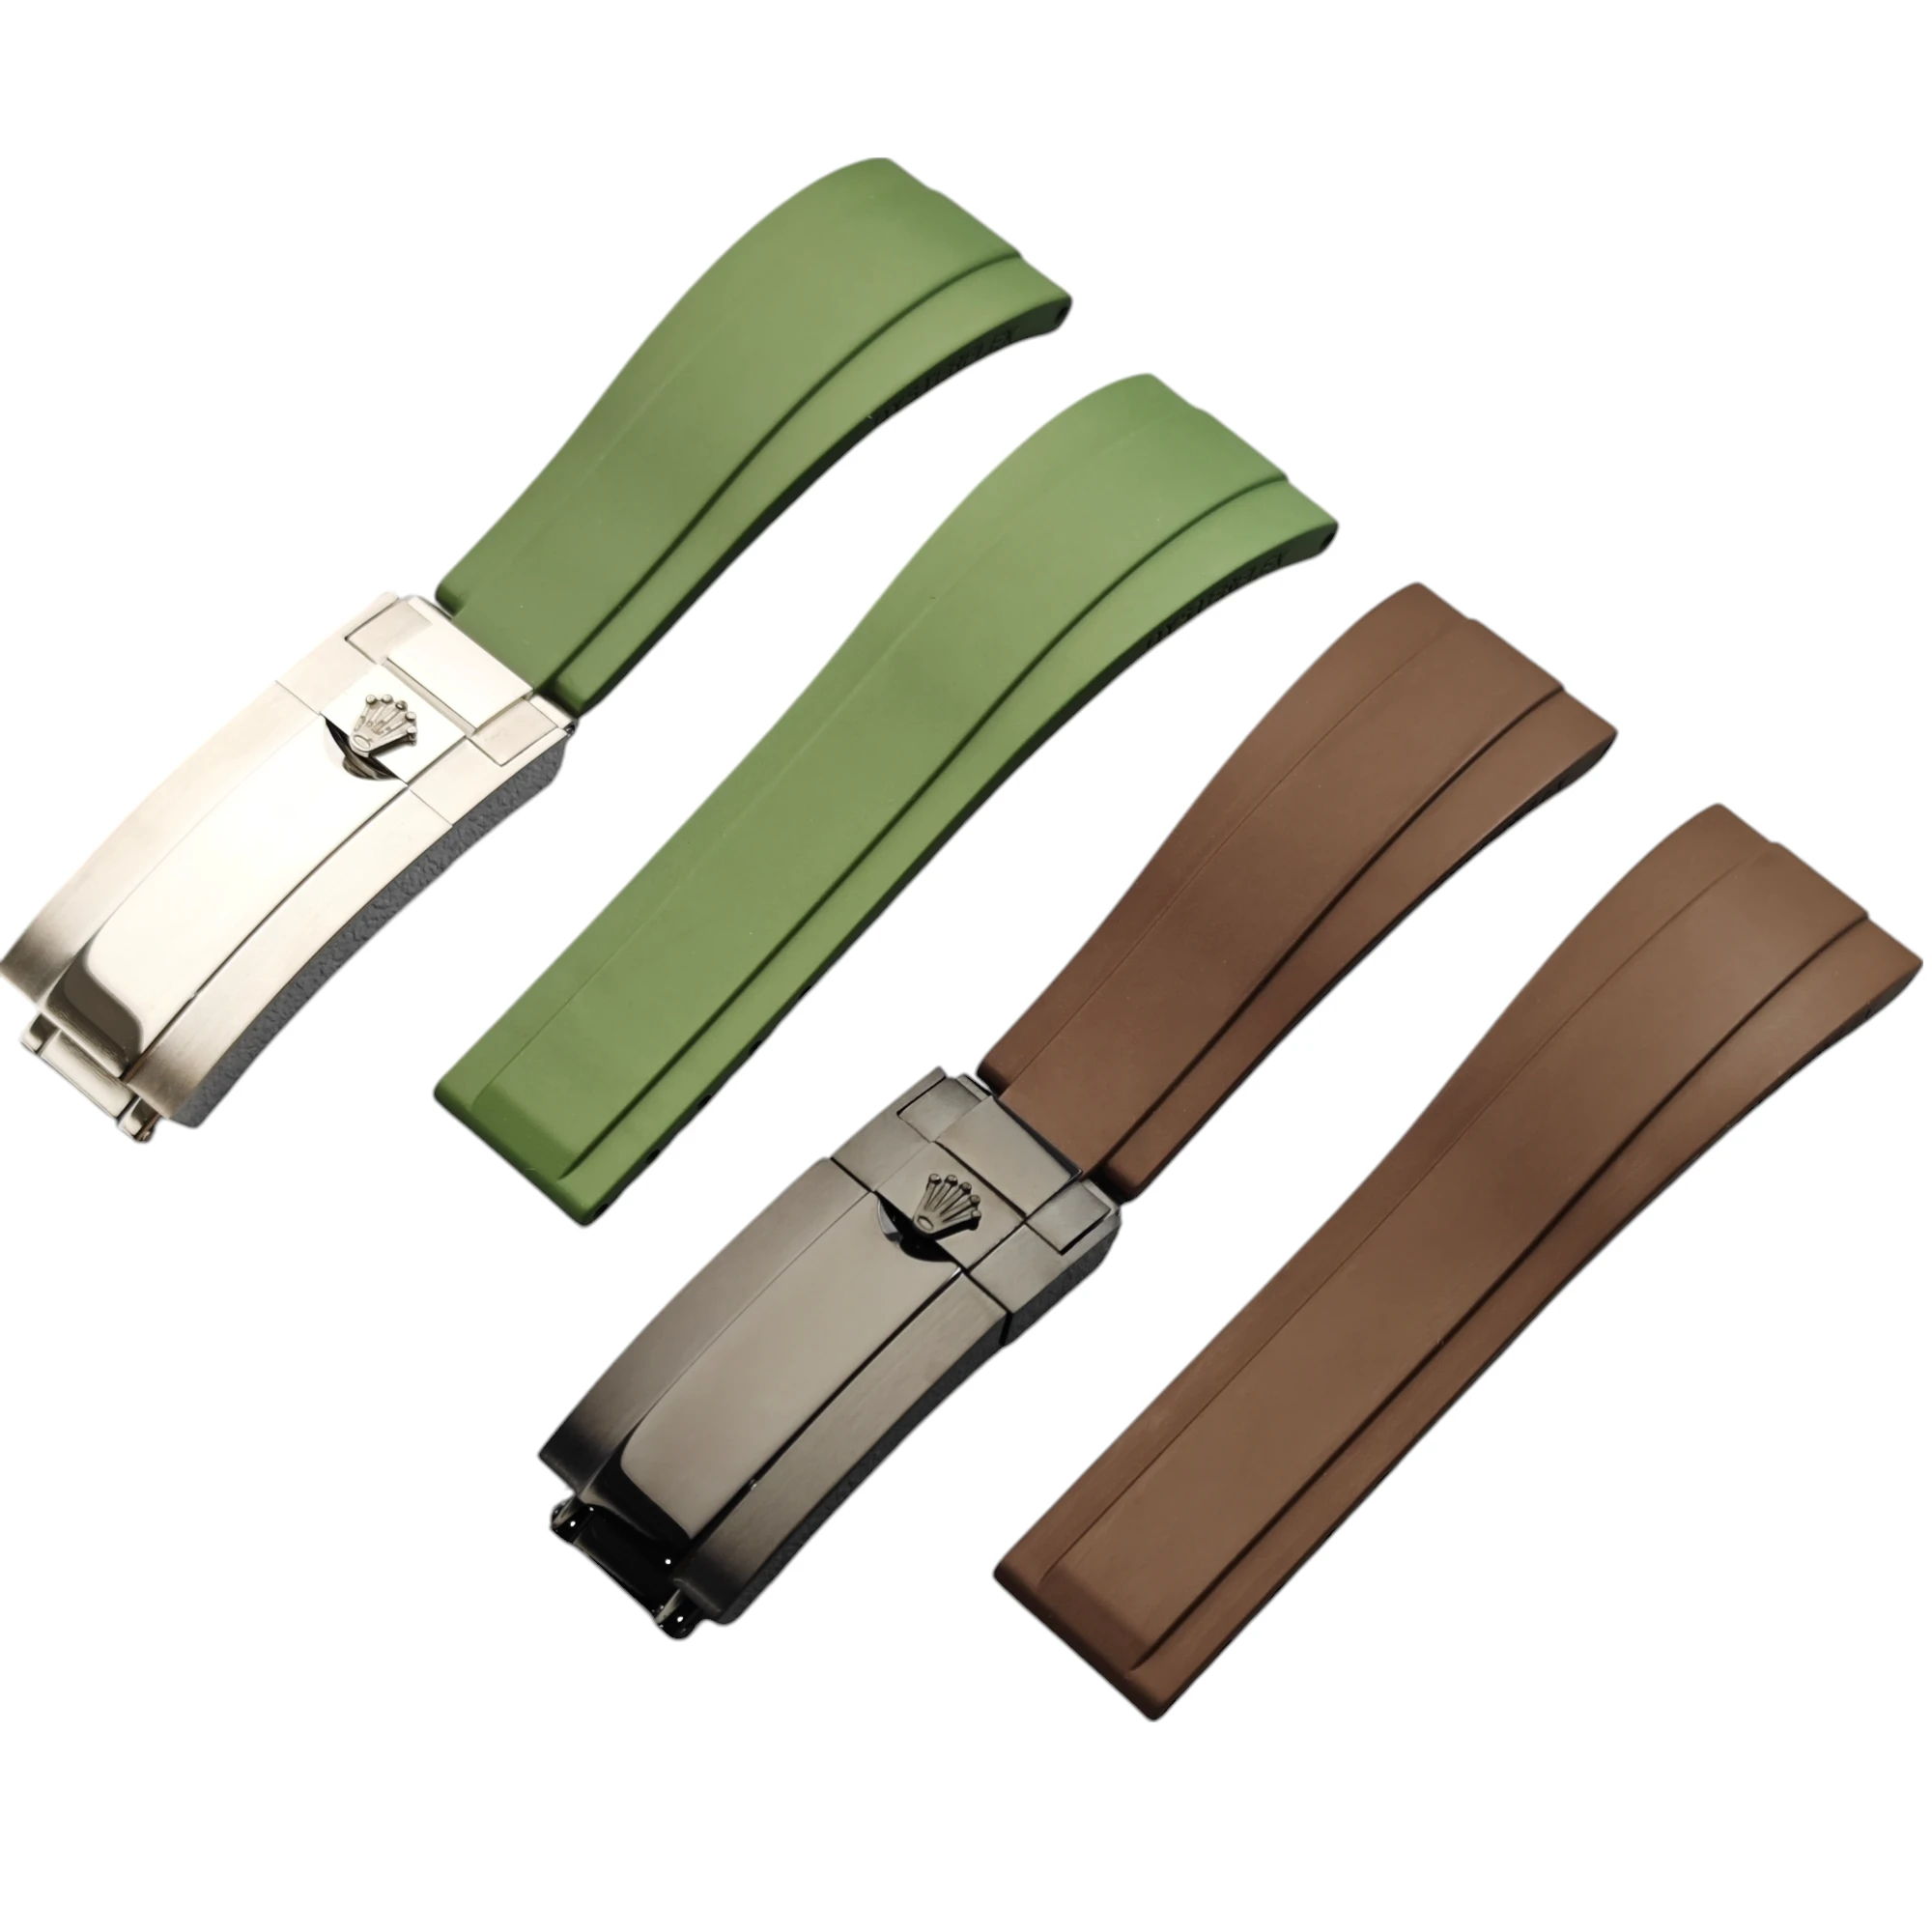
Rolex Oysterflex straps come in specific sizes tied to wrist circumference, which means fitment is precise — and limited. OEM straps are high quality, but costly and hard to find unless through authorized service. Aftermarket straps offer more flexibility in color, size, and price — but not all are made equal. Before installing an aftermarket strap, make sure it’s designed for your exact model or a very close case shape. Look for straps with reinforced curved ends, solid rubber, and steel-core spring bar channels. Some low-cost options lack structure and can break under pressure. On the flip side, high-end aftermarket straps from trusted makers often match or even improve on OEM comfort for everyday use. Know your priorities: original parts for collectors or aftermarket for customization and value. Either way, proper fit and secure installation are essential.
6. Final Tips to Keep Your Strap Secure and Looking New
Once you’ve replaced your Oysterflex strap, a little care goes a long way. Avoid prolonged exposure to heat, direct sunlight, or chemicals like sunscreen or insect repellent — all of which can degrade the rubber. After swimming in saltwater or sweating heavily, rinse the strap with lukewarm water and dry it with a soft cloth. Check the spring bars occasionally to ensure they’re still tight and secure. If your strap has a deployant clasp, inspect the clasp pins every few months for signs of wear. For aftermarket straps, follow the manufacturer’s care instructions. And always store your watch in a dust-free box or pouch when not in use. A well-maintained strap doesn’t just look good — it protects your investment and ensures your watch stays secure on your wrist.


